
Bleed & Crop/Trim Marks

Why Bleed and Crop/Trim Marks Matter
To make sure your designs look perfect right up to the edge of the page, we print on larger sheets and then trim them down. This helps us avoid any unwanted white borders caused by tiny shifts during printing. Here’s a simple guide:
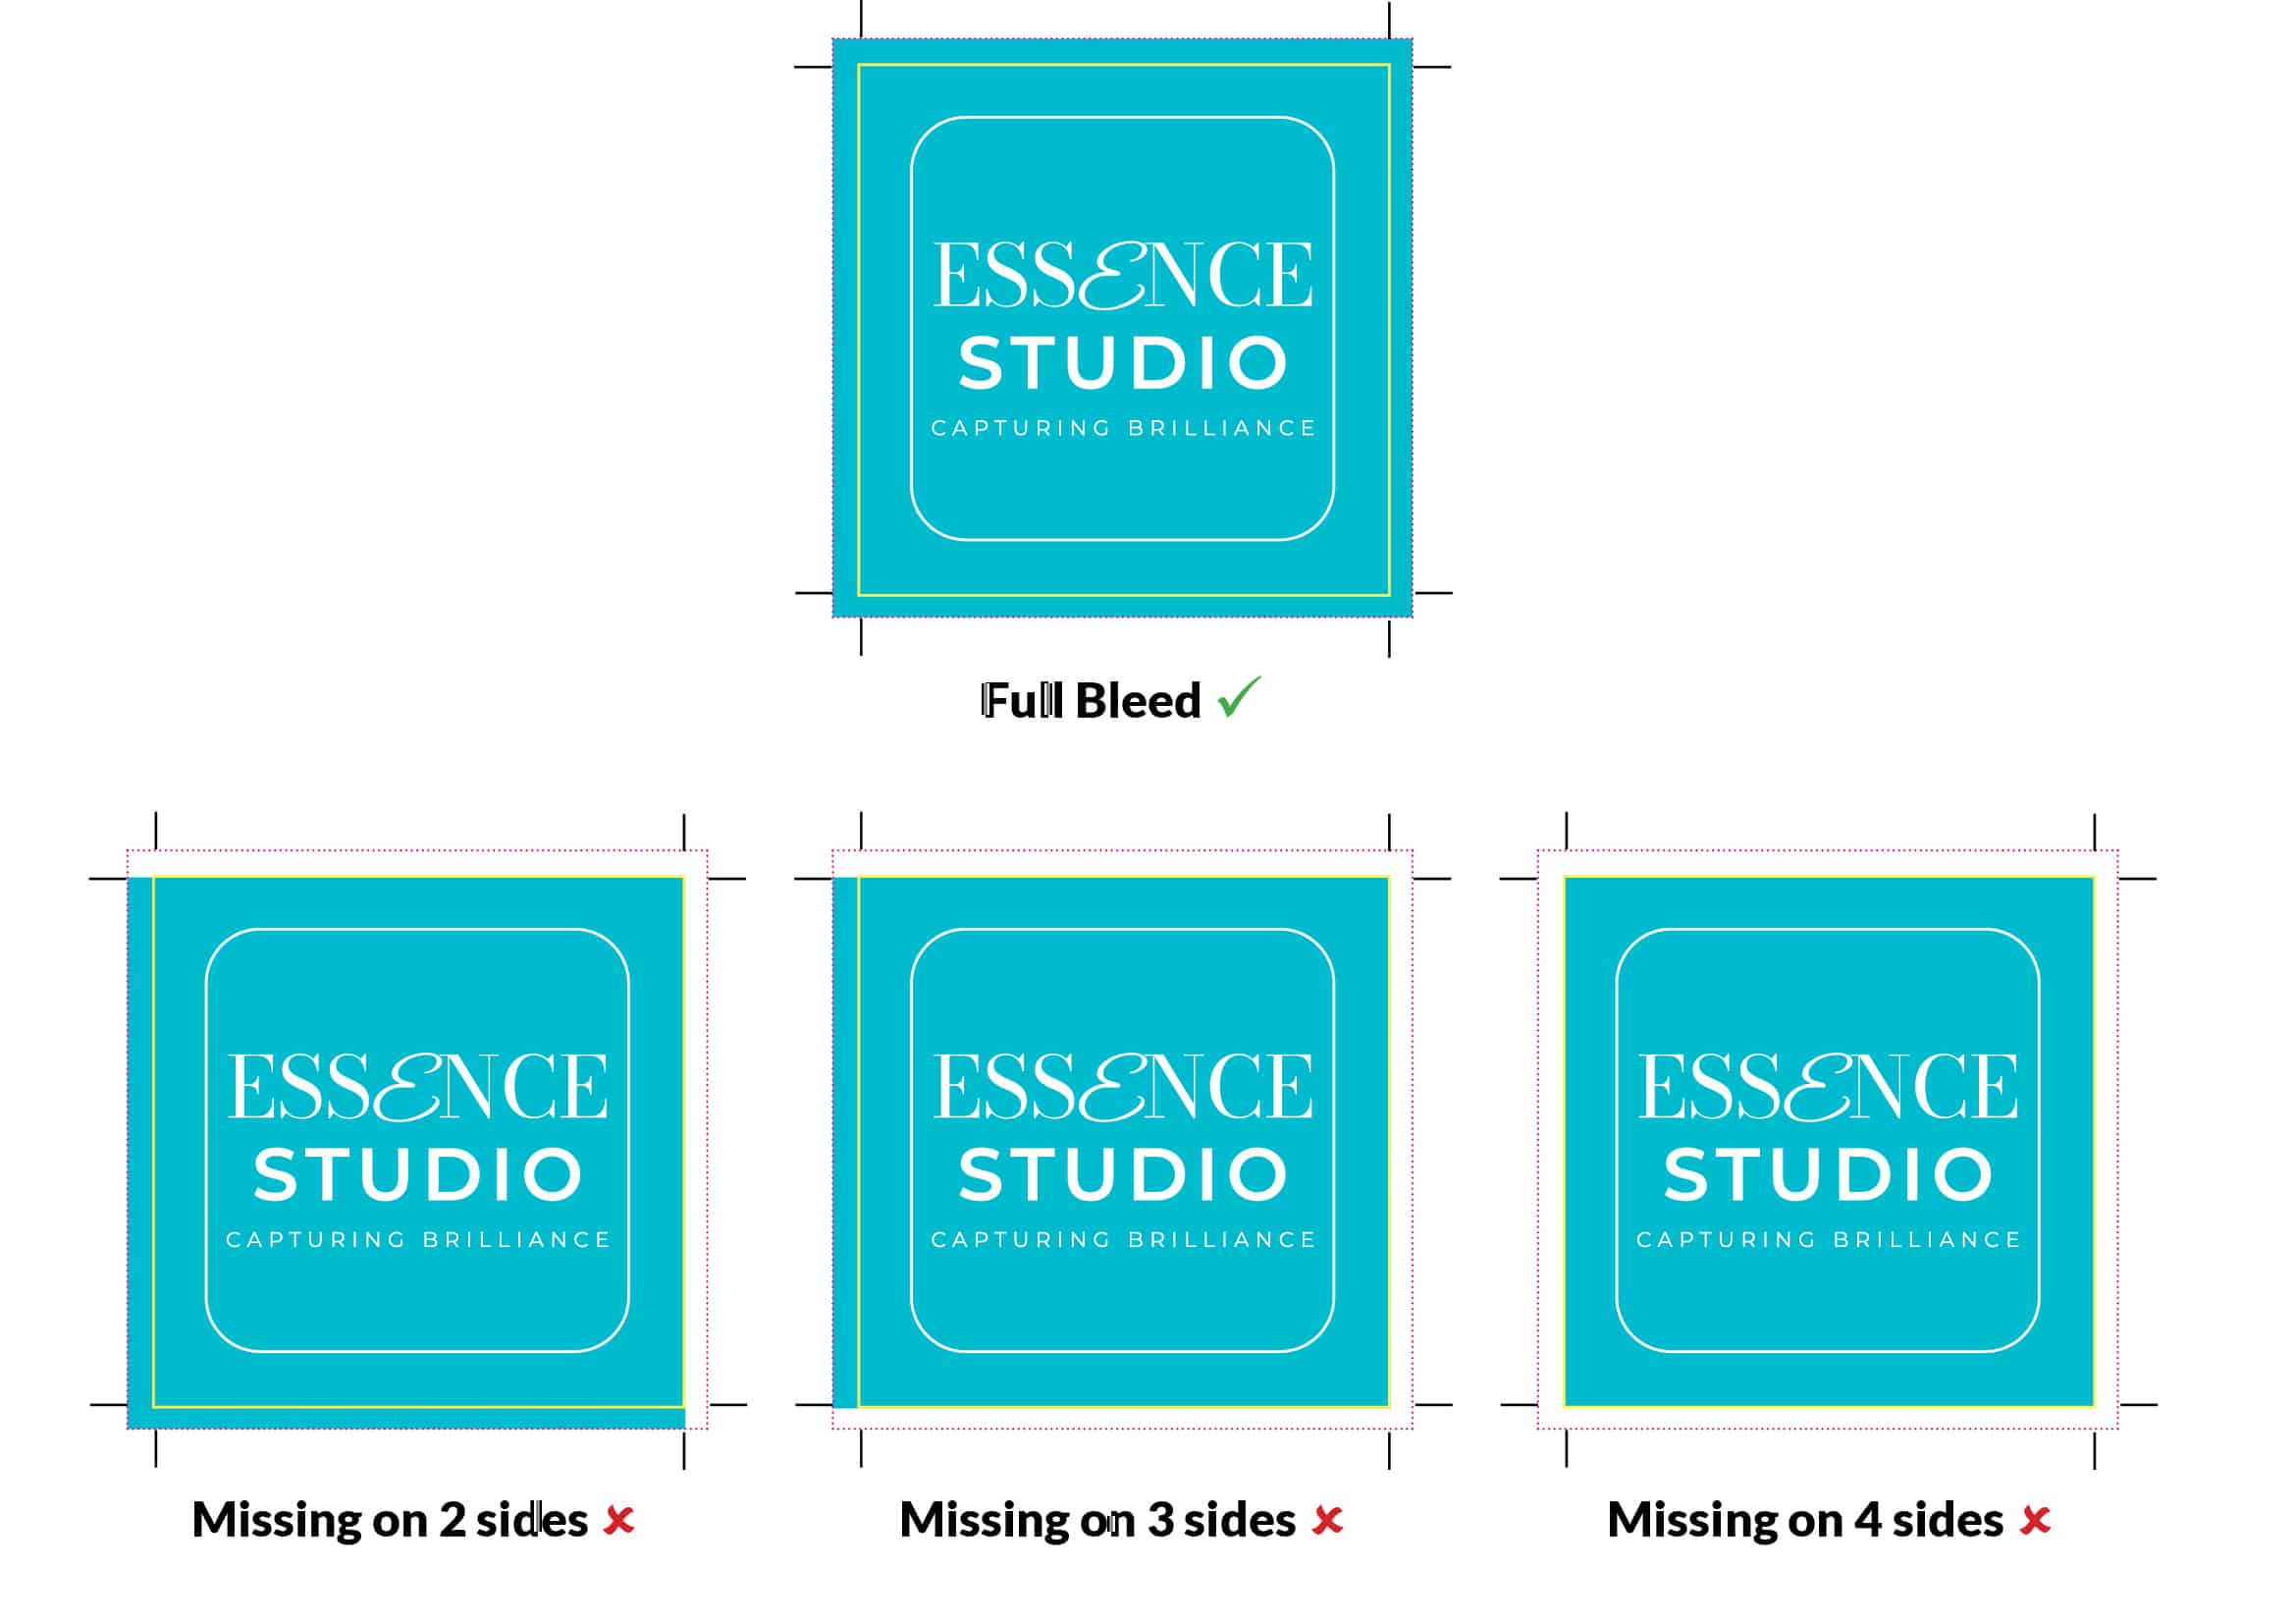
 
Crop and Bleed Image

1. Bleed: Extra Space for Perfection
What is Bleed? Think of bleed as a safety margin. It’s an extra 3mm of your design that goes beyond the final size.
Why it’s Important: This extra space ensures that even if the paper moves a little while being cut, your design still goes all the way to the edge.
Example: For a business card that’s 85mm x 55mm, your design should be 91mm x 61mm. This way, we cut off the extra 3mm on each side, leaving a perfect 85mm x 55mm card.

2. Crop (or Trim) Marks: Cutting Guides

– What are Crop Marks? They’re small lines showing where the paper needs to be cut.
– Why they’re Important: These marks guide us to cut your design to the exact size, ensuring everything looks neat and professional.
– Placement: Trim marks are placed 3mm away from your design’s edge, so they don’t show up on your final print.

Need Help?
If you’re unsure about setting up your artwork with bleed and trim marks, we’re here to help! We can add these for you for a small fee or guide you through the process. Read more on our Artwork Fix Service page.  
 

Colour Variance in Printing

Colours can vary between screens, printers, paper stocks and separate production runs. Understanding these differences and preparing artwork correctly will help you achieve a more consistent printed result.

CMYK Colour Printing
Most full-colour printing uses CMYK: cyan, magenta, yellow and black. These four inks or toners are combined in different proportions to reproduce a wide range of colours.
CMYK has a smaller colour range than RGB, which is used by screens. Bright or highly saturated colours displayed on a monitor may therefore appear different or less vivid when printed.

What Can Affect Printed Colour?
Several factors can influence the final result:

  1. Printing process: Different presses and production methods can reproduce colour differently.
  2. Paper or material: Coated, uncoated, recycled and coloured stocks absorb and reflect ink differently. The same artwork may therefore look different across materials.
  3. Screen settings: Brightness, display settings and monitor calibration affect how colours appear on screen.
  4. Artwork colour mode: Artwork supplied in RGB will need to be converted to CMYK, which may change some colours.
  5. Separate print runs: Minor variations can occur between repeat orders because of changes in materials, ink, toner, equipment and production conditions.
  6. Finishing: Lamination and other finishes can affect the appearance and depth of printed colours.

Preparing Your Artwork For the most predictable results:

  • Set artwork to CMYK colour mode.
  • Use the correct colour profile where one has been provided.
  • Supply images at a suitable resolution, normally 300dpi at the final printed size.
  • Avoid selecting colours solely by how they appear on screen.
  • Tell us if colour consistency with an existing item or previous order is important.
  • Provide a physical sample where a close comparison is required.

Converting artwork to CMYK does not guarantee an exact colour match, but it allows you to review changes before supplying the final file.

Matching Specific Colours
An exact match cannot always be achieved using CMYK printing. If a particular brand colour is important, please provide the relevant Pantone reference or brand guidelines when requesting a quotation.
We will advise on the most suitable printing method, material and finish. Pantone references can improve colour communication, but the available matching options will depend on the product and production process.

Proofs and Test Prints
Where colour is critical, a printed proof or test print may be recommended before the full order is produced. This allows you to assess the colour, material and overall result more accurately than viewing artwork on screen.
Proofs and test prints may be chargeable and can add to the production time. They are intended as a practical guide; minor variation may still occur during the final print run.

Repeat Orders
We will use your previous order information where available, but an exact match between separate print runs cannot be guaranteed. Please tell us when ordering if the new print must be compared with an earlier version.

Need Advice?
If you have questions about colour setup, paper choice or matching an existing printed item, contact our team before placing your order.

Artwork Sizes and Ratios

Artwork does not always need to be supplied at the final print size. Larger items, such as posters, banners and exhibition graphics, can be supplied at a smaller proportional size and enlarged for production.

For example, artwork for a 1200 × 400mm banner could be supplied at 300 × 100mm. Both sizes have the same 3:1 ratio.

When supplying artwork at a reduced size:

  • Keep the width and height in the same proportion as the finished print.
  • Supply the artwork at a recognised scale, such as 25%, 50% or 10%.
  • Tell us the intended finished size and the scale used.
  • Make sure photographs and other raster images have sufficient resolution when enlarged.
  • Scale bleed and safe areas proportionally.

If the artwork ratio does not match the required print size, it may need to be cropped, resized or adapted. Otherwise, blank space may appear at the top and bottom or on either side.

We can adjust supplied artwork where possible, but artwork charges may apply. If you are unsure which size or scale to use, please contact us before preparing your file.

Booklet Printing

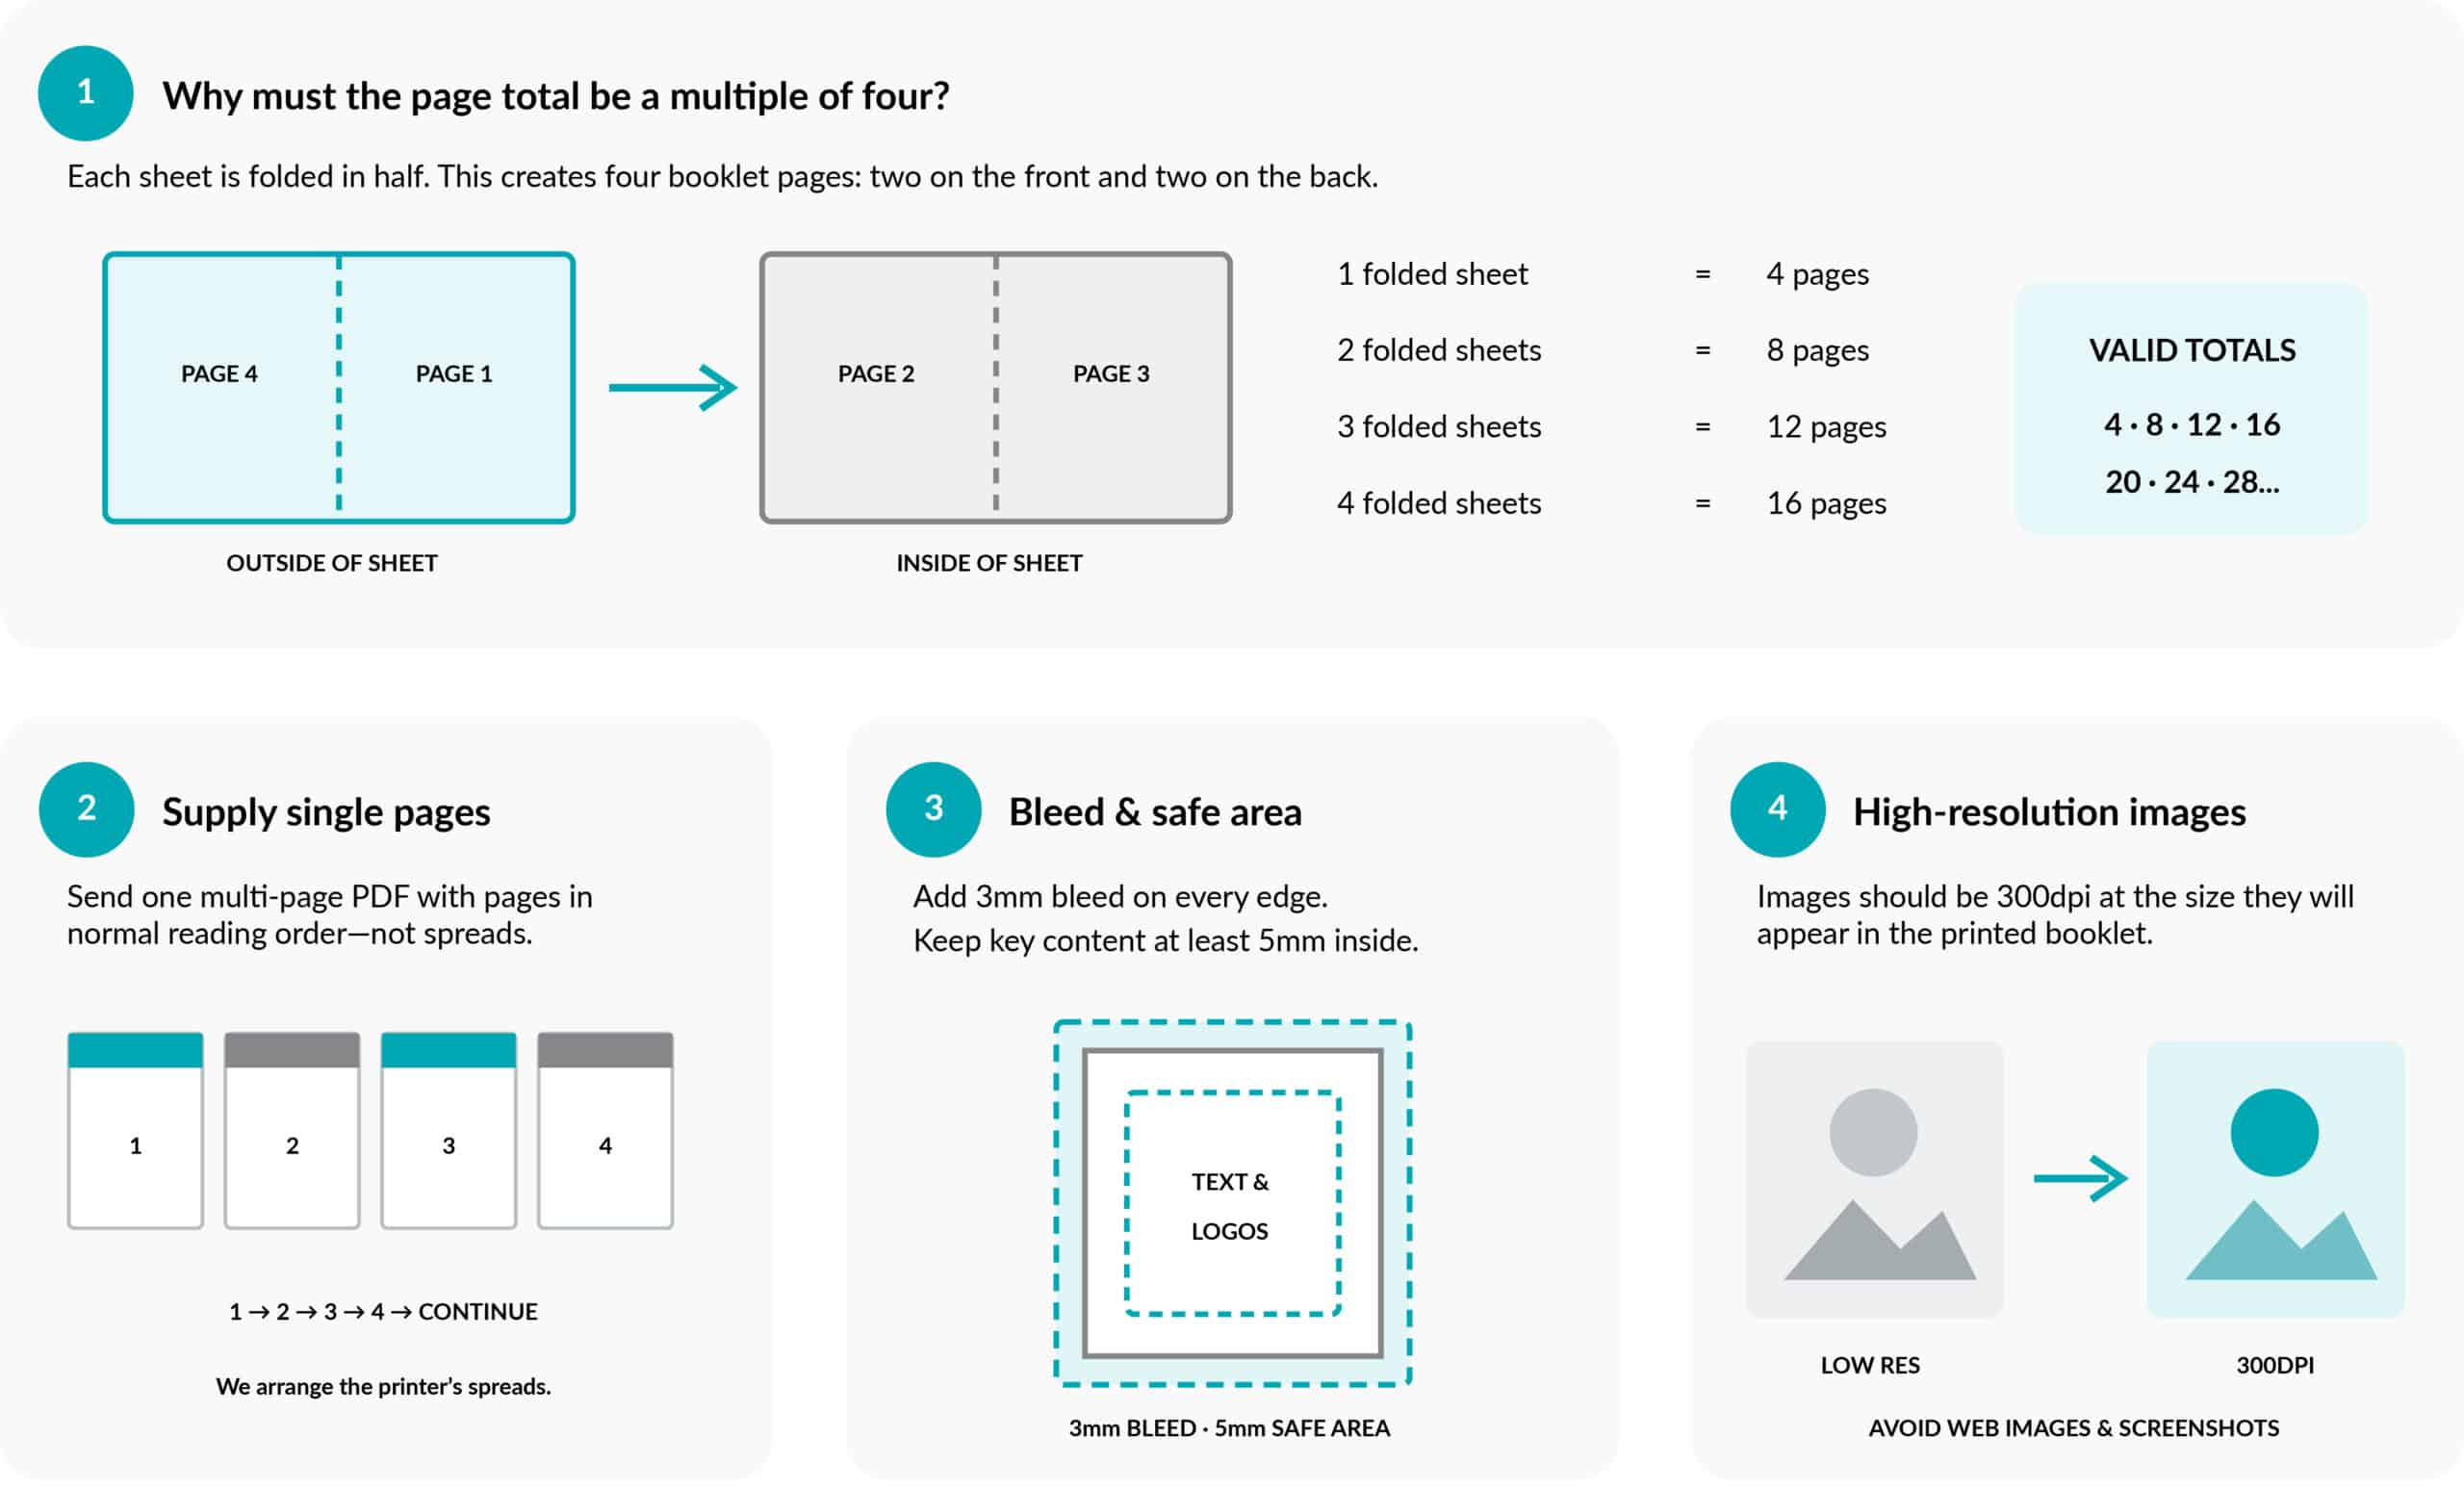
Saddle stitched booklets are made from folded sheets secured with staples. Each sheet creates four pages, so the total page count must be a multiple of four, including the covers—for example, 8, 12, 16 or 20 pages.

Booklet Artwork Guide

Supplying Your Artwork
Please supply:

  • One multi-page PDF
  • Individual pages in reading order, not spreads
  • All pages at the correct size and orientation
  • 3mm bleed on every edge
  • Important content at least 5mm from the trimmed edge
  • Images at 300dpi at their final printed size

We will arrange the pages into the correct printer’s spreads for production.

Creating Booklets in Canva
Set up your Canva document at the finished page size and design each page individually in reading order. Do not create facing pages or printer’s spreads.
When downloading your artwork:

  • Select PDF Print
  • Tick Crop marks and bleed and export all pages as one PDF
  • Choose CMYK if this option is available
  • Check that the total number of pages is a multiple of four

Image Resolution
Images should be 300dpi at their printed size. Screenshots and images taken from websites or social media are often low resolution and may appear blurred or pixelated when printed.
Changing the dpi setting does not improve a poor-quality image. The original file must contain enough detail. Supply logos as vector PDF, EPS or SVG files where possible.

Designs Across Two Pages
Designs can continue across facing pages, but slight movement may occur during printing, folding and trimming. Avoid placing small text, faces, logos or important details directly across the centre fold.

Before Sending Your Artwork
Check that the page total is a multiple of four, pages are in reading order, bleed has been added and all images are high resolution. If you are unsure, contact us before submitting your artwork.

Premium Papers

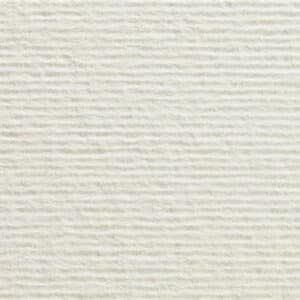
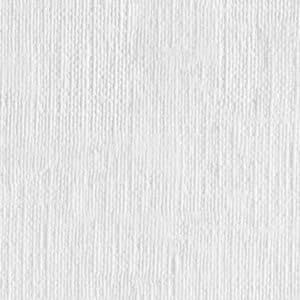
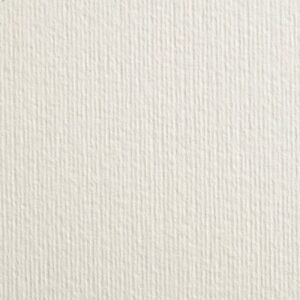
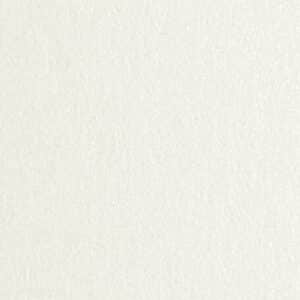
Choose from 11 luxurious paper types, including Kraft and Tintoretto Gesso, ensuring a high-end look.

Encapsulation or Lamination

Encapsulation and lamination both protect printed materials, but the finished appearance and level of protection differ.

Encapsulation

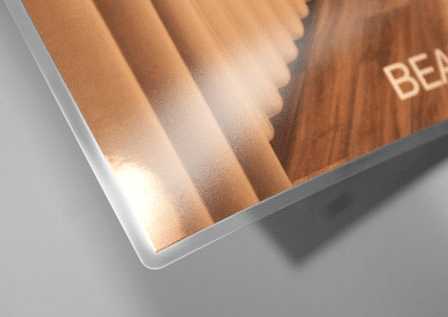
Encapsulation seals the print between two layers of plastic, leaving a clear border around the edges. This provides strong protection against moisture, dirt and frequent handling.

It is suitable for menus, notices, instruction sheets, certificates and other items that need to be durable or wiped clean.

Lamination

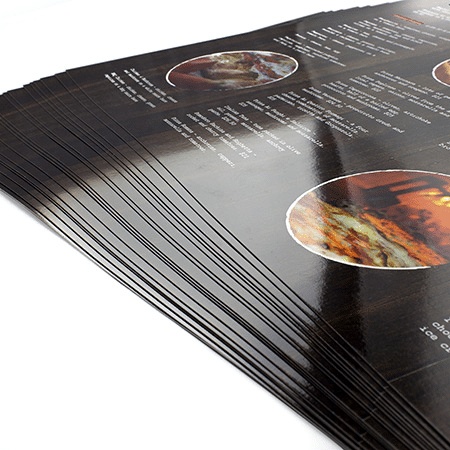
Lamination applies a thin film directly to the printed surface and is trimmed flush with the edges. It protects the print while giving it a smooth, professional finish. Matt, gloss and soft-touch laminates may be available, depending on the product. Lamination is commonly used for business cards, flyers, menus, book covers and presentation materials.

Which Should I Choose?

Choose encapsulation when durability, moisture resistance and wipe-clean protection are the priority. Choose lamination when you want to enhance the appearance and handling of professionally printed materials. Please contact us if you are unsure which finish is suitable for your order.