Bleed & Crop/Trim Marks

Why Bleed and Crop/Trim Marks Matter
To make sure your designs look perfect right up to the edge of the page, we print on larger sheets and then trim them down. This helps us avoid any unwanted white borders caused by tiny shifts during printing. Here’s a simple guide:
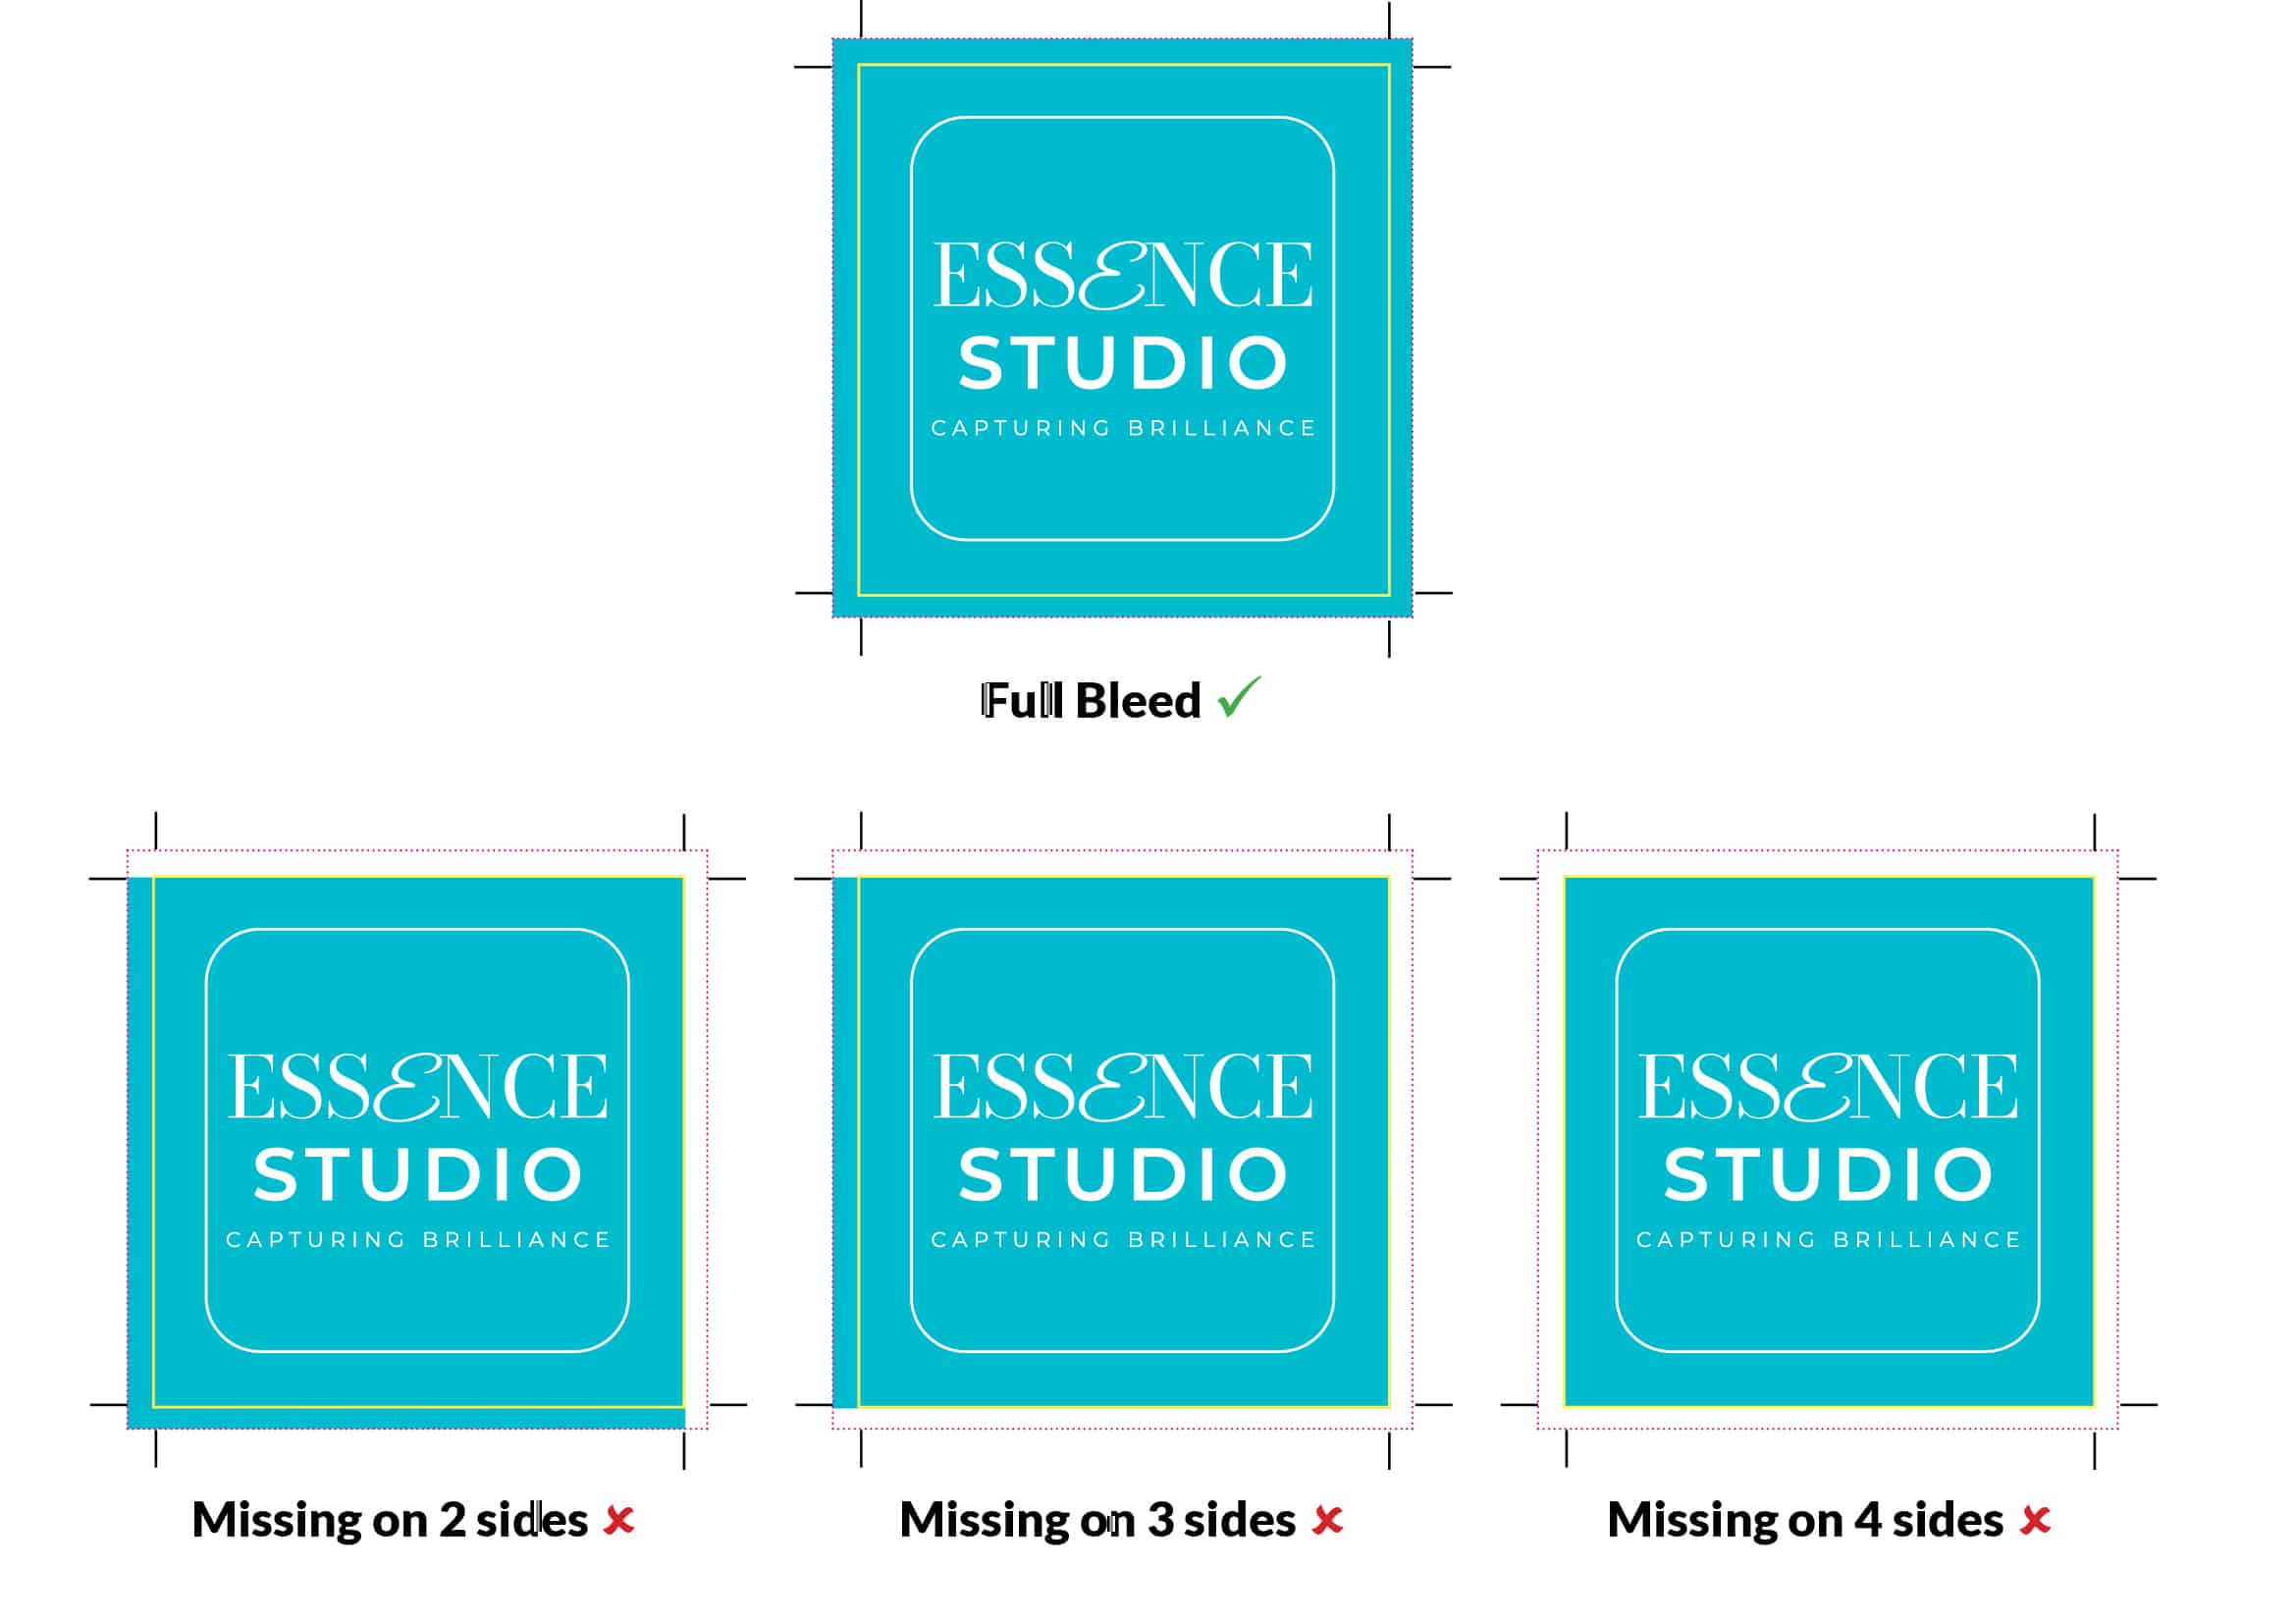
 
Crop and Bleed Image

1. Bleed: Extra Space for Perfection
What is Bleed? Think of bleed as a safety margin. It’s an extra 3mm of your design that goes beyond the final size.
Why it’s Important: This extra space ensures that even if the paper moves a little while being cut, your design still goes all the way to the edge.
Example: For a business card that’s 85mm x 55mm, your design should be 91mm x 61mm. This way, we cut off the extra 3mm on each side, leaving a perfect 85mm x 55mm card.

2. Crop (or Trim) Marks: Cutting Guides

– What are Crop Marks? They’re small lines showing where the paper needs to be cut.
– Why they’re Important: These marks guide us to cut your design to the exact size, ensuring everything looks neat and professional.
– Placement: Trim marks are placed 3mm away from your design’s edge, so they don’t show up on your final print.

Need Help?
If you’re unsure about setting up your artwork with bleed and trim marks, we’re here to help! We can add these for you for a small fee or guide you through the process. Read more on our Artwork Fix Service page.  


Colour Variance in Printing

Understanding Colour Variance in Printing
Thank you for exploring the intricacies of the printing process with us. In this section, we delve deeper into the world of colour variance when it comes to printed materials. Whether you’re a seasoned print professional or just starting your printing journey, understanding the factors influencing colour outcomes can help you achieve the best results.

The CMYK Printing Method
At the heart of colour printing lies the CMYK method, which blends four primary colours: cyan, magenta, yellow, and black. These colours are mixed in varying proportions to generate the entire spectrum of colours present in your printed materials.

Factors Influencing Colour Variance
Several factors can influence the outcome of print runs:

  1. Printing Technology: Different printers and printing techniques may exhibit slight variations in colour output, potentially resulting in subtle discrepancies.
  2. Paper and Material: The type and texture of the printing material, such as paper or cardstock, can impact ink adhesion and light reflection, influencing perceived colours.
  3. Colour Calibration: Regular printer calibration is necessary to maintain consistent colour output. Improper calibration can lead to variations in colours between prints.
  4. Prior Orders: Even when attempting to replicate a previous order, minor differences in ink batches and printing conditions can lead to colour variations.
  5. Custom Colour Creation: Reproducing specific colours precisely using only cyan, magenta, yellow, and black inks can be challenging, particularly with unique or vivid hues.
  6. Screen vs. Print Viewing: Colours may appear differently when viewed on a backlit screen compared to a printed piece of paper.
  7. Artwork Setup: Proper artwork setup is crucial for achieving accurate prints. To prepare your artwork for CMYK printing, ensure that it is set up in the CMYK colour mode rather than RGB, for example.

Managing Colour Variance
While every effort is made to minimise colour discrepancies, achieving perfect colour matches in CMYK printing can be challenging due to these factors. Instead of expecting a flawless match, it’s advisable to anticipate some degree of variation.

Our Commitment to Quality
Looking ahead, we are committed to providing the best possible results for your print projects. We offer the following solutions:

  • Test Prints: We can provide a test print before the final production run, allowing you to thoroughly review and gain a clear understanding of what to expect in the main print job.
  • Material Testing: If you wish to assess the impact of different materials on colour, we can perform test prints on various options.

Have more questions or need further assistance? Feel free to contact our team; we’re here to help you achieve the best possible print results.

Ratios

It may not always be convenient to set artwork up at the size it is to be printed. For example, you may prefer to supply artwork for an A0 poster as an A4 document. This is no problem at all as we can usually scale supplied artwork up or down by any percentage required.

Make sure your artwork matches the width-to-height ratio of your desired print size. Standard ‘A’ sizes are already set, so that’s simple to re-size. For custom sizes, just divide the width by the height to find the right ratio. For instance, a 1200mm by 400mm banner can be represented as 300mm by 100mm, both with a 3:1 ratio.

If you do supply artwork with a different width-height ratio to the print size you require, it will usually result in the final print having white borders at either the top and bottom or left and right edges. If this is not acceptable, we will usually be able to adjust your artwork to fit the required size better for a small additional artwork charge.

Booklet Printing

Standard booklets, such as saddle stitched (stapled) are made by binding folded paper sheets at the spine, so the number of pages must always be a multiple of 4. Think of a birthday card as a 4-page booklet – 2 birthday cards, one inside the other would be an 8-page booklet, 3 birthday cards, one inside the other would be a 12 page booklet and so on. If your page total is not divisible by 4, blank pages will need to be added where appropriate to remedy this.

When creating booklet artwork, it’s important to understand the difference between reader’s spreads and printer’s spreads. Reader’s spreads display the pages in the order they will be read, for example, page 2 on the left and page 3 on the right. However, this is not how they are arranged when printed. In printing, a layout called printer’s spread is used, where page 2 might be paired with the inside back page on a single sheet.

Despite these formats, we specifically request that booklet artwork be supplied as single pages. This approach allows us to adjust the positions of each page on the printing sheet as needed. This is particularly important for larger booklets, where the thickness of the sheets can affect the alignment of the pages in the finished book. By adjusting the space between the pages, we can counteract the effect known as ‘creep’. To facilitate this process, please ensure each single page includes a 3mm bleed on all sides and crop marks. This helps in achieving the best possible alignment and quality in the final printed booklet.

Premium Papers

Choose from 11 luxurious paper types, including Kraft and Tintoretto Gesso, ensuring a high-end look.

Encapsulation or Lamination

In the domain of print preservation, encapsulation and lamination emerge as highly effective techniques.

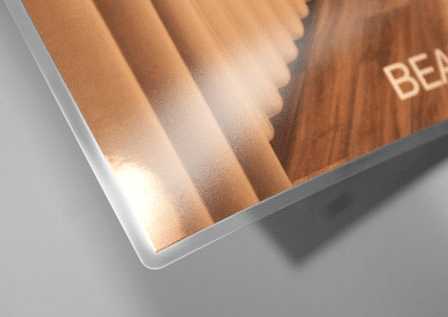
Encapsulation involves sealing prints in thick plastic pockets using heat, creating a durable shield against environmental factors. The clear edges enhance visibility and aesthetics, making it ideal for long-term preservation against moisture, dust, and wear.

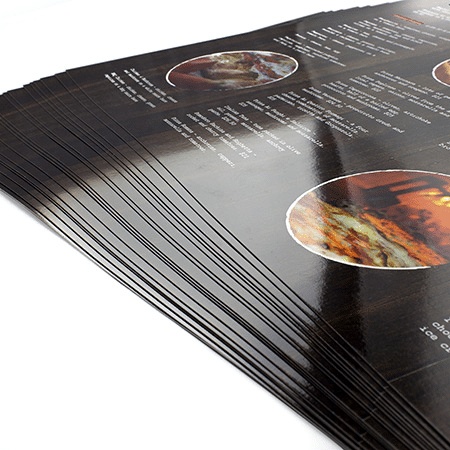
Lamination, on the other hand, employs a thin plastic layer heat-sealed and trimmed flush, providing a sleek protective covering that closely adheres to the document’s contours. The trimming process ensures a visually appealing finish, balancing protection and presentation for various documents.

Both methods play crucial roles in print protection, offering reliable solutions tailored to specific needs, whether emphasizing durability or a polished appearance. These techniques safeguard prints against the challenges of time and external elements, ensuring their longevity and visual integrity.